Mix the butter, olive oil, sugar and dry coconut until the mixture is fully incorporated and slightly fluffy.
Add the egg yolk, rum and salt and mix thoroughly.
Add the rest of the ingredients and mix until no dry bits of flour remain. Chill the dough for at least 1 hour.
Once fully chilled, preheat the oven to 300℉. Roll the dough into 16 balls, each one approximately weighing 30 grams. You should end up with 16 dough balls.
Space the dough balls out on 2 parchment lined baking sheets and bake for 10-12 minutes. The edges of the sable should be just barely starting to brown.
Cool for 5 minutes on the sheet trays, then remove the cookies from their trays and finish cooling on the counter until they’re no longer warm to the touch.
What do you think of when you hear the word “vanilla?” Does it conjure up images of plainness, boredom or familiarity? For years, vanilla simply served as a basic flavor for me, as it does for most people. As for vanilla sweets, I never preferred them, but they were always there just in case someone happened to not like chocolate. I didn’t dislike it, nor did I ever seek it out in any capacity. As I’ve gotten older, I’ve learned that having the same thing over and over gets old, even when it comes to the things we enjoy the most. I learned to cherish the intention that some things should be enjoyed with, those being indulgent things like gelato and cheesecake that could ruin my health if I had it every day. Every day does not need to include the most decadent dishes; Sometimes something light and simple makes you feel the best.
Recently I started trying to look at vanilla as a balancer of flavor, a baseline to build upon, as well as its own pillar. I would argue that most don’t know the taste of vanilla in its purest form: floral, pungent and almost spiced. This I blame on the quality of most vanilla syrup and extract, those being the most common forms of vanilla that most people encounter in their everyday lives. For example, vanilla and coffee compliment each other wonderfully, but a bad quality vanilla quite literally sabotages your whole experience.
I see that most people don’t even think twice when it comes to stuff like that. “The quality of this vanilla is not good enough” surely isn’t a thought that a lot of people have. I am not those people. If I’m looking forward to something nice and vanilla flavored, I’m not looking for some half assed vanilla something or other, I expect it to hold its own. That’s why I don’t get vanilla coffee. Most places use mid vanilla syrup, and I would rather not even fool with it in most cases. With food costs reaching record highs, it has become more important than ever for me to be pickier when it comes to paying money for food products/ ingredients. Some would consider that being too bougee, stuck up or even snobbish. I want my food to work for me, just like I worked for the means to be able to afford things in that higher quality bracket of products.
So next time you get vanilla ice cream, vanilla coffee or anything that can be seen as boring because of its vanilla characterization, think about the fact that vanilla is wonderful! We have to hold the things that we consume at a higher standard. Believe me, I know how hard it is to not be able to afford all the nicest versions of things, but cherish the times you DO have the opportunity to pick that real vanilla extract, paste or beans. Your taste buds will thank you, along with all the people in your life that you get the pleasure of sharing your creations with.
It’s funny to see so many chefs that are blown away by the concept of people washing their meat. “If you’re buying chicken that seems like it needs to be washed, you’re already fucked” is what I heard most recently, and it got me thinking; Not about why people wash chicken, but why so many people have a problem with it. Though food standards are good enough at this point in time that washing chicken is technically unnecessary, the tradition still holds strong for many households of color.
The reason behind this is an unfortunate one, but one that more people aught to know. For decades, there has been fear in colored communities that the people that don’t want them to live where they do sabotaged products and services in their communities to get them to relocate. In sociology there is a concept that states “if one defines situations as real, they are real in their consequences,” and that means whether these communities were sabotaged or not, they believed that they were, and acted accordingly. Washing chicken is a byproduct of overcoming adversity and doing what one needs to keep their family as healthy as they can. Not to mention the fact that many don’t have access to cushy Whole Foods meat sections with their corporate-friendly overly sanitized kitchens and meat cases.
So let me ask all the chefs that scoff at home cooks for washing their meat: If generations of your family felt that they had to wash their chicken so it would be safe to eat, and there wasn’t a trusted-by-you food-handling professional there to tell you not to and explain the reasoning, wouldn’t you wash your meat too? “That’s unsanitary, it spreads chicken particles everywhere” I hear so many cry as they judge behind their smartphone screens. Has noone ever heard of a wipe down? Surface cleansing wipes for the surfaces around the kitchen? If kitchen cleanliness in these situations leads to people getting sick, the cook probably would’ve made a similar mistake in the case that they didn’t wash their chicken.
It’s time to stop assuming and start letting people prepare food how they and their families have prepared it for generations. It seems many are mistaken believing that it was a “trend” around the mid 20th century, and that big names like Julia Child, Betty Crocker and James Beard were doing It in their own kitchens based on antiquated food cleanliness practices. This whitewashes the early struggles of a marginalized America, which is a regular practice in the US’s culinary zeitgeist. This information is out there, we just don’t see enough white chefs acknowledge this practice as traditional and not foolish.
Wash your chicken if you want. Simply pat down the meat with a paper towel if you want. But whatever you do, don’t demonize a whole culture of people just because you don’t get it.
Towards the beginning of September, I began chemotherapy for non-Hodgkin’s squamous T-cell Lymphoma. Needless to say, getting used to my body changing so drastically has been quite the ride .
Fortunately for me, the case is not nearly as bad as it is for some, and my side effects from treatment have been fairly manageable; I am very blessed to be in good enough condition to work at my job and enjoy most aspects of my life.
Having said that, there has been one aspect of it that shook me to my core: my taste buds don’t work the same! What I notice the most is that I don’t perceive salt at all. Potato chips just taste like potatoes, having lost their finger-lickingly addictive nature for me. Coca Cola currently tastes like a weird spiced carbonated tea, and all fast food is so bland that I don’t even bother wasting my time with it anymore. It’s obvious to me that not tasting salt would change how everything tastes, but it’s been crazy to see just how dramatic the difference has been.
Though it has been a massive roadblock to normality for me, I try to see it as a blessing in disguise as much as I can. It’s been easier for me to decide against heavily processed foods and lean more towards things made with whole ingredients. Quality has always been very important to me when it comes to food, but it has recently carried more weight than ever before.
At this point I’m just over halfway through my treatment plan and I can finally say I’ve gotten mostly used to the absence of salt flavor. I’ve made a conscious effort to focus on the flavors that I CAN taste rather than let my underperforming tongue get me down. I certainly appreciate the things that I taste a lot more now.
Have you ever heard of someone going through treatment and experiencing something like this? Reach out to me on Instagram or through email if you want to share your thoughts, I would love to hear about it!
1 cup/ 80 g shredded aged white cheddar (look for labels that describe it as tasting similar to parmesan)
1 stick softened, unsalted butter
1 large head of roasted garlic (about 8 decent sized cloves)
2 tsp chopped Calabrian chilis (use 1 tsp if you don’t want it as spicy)
zest of 1 grapefruit (or 2 lemons)
a 4-finger pinch of flaky salt
Combine all of the dry ingredients with the butter and cheese and mix thoroughly. Stir in 1 cup of cold buttermilk and mix until no dry spots remain.
Wrap the dough in plastic and rest in the fridge for 30 minutes. After this time, lightly flour your clean countertop and roll out the dough until it is 1/2 inch thick. Fold like a triple-folded pamphlet and roll out again the same way, folding the same way at the end. Try to keep the edges as squared away as possible.
Cover and rest the dough for 15 minutes. Then cut into 8 even squares/ rectangles. Place on a sheet tray with a finger width of space between each one.
Brush with the egg wash and bake at 400℉ for 10- 15 minutes, or until golden brown on top and bottom.
Make your compound butter. Wrap in plastic to chill. Once solid, cut into square pieces to place inside of your warm, sliced biscuits.
Roll out some dough (about 1/8th of the recipe) without flour until about 1/2″ thick and wrap around 3 asparagus spears. Be sure to press the dough together once wrapped to keep them sealed.
Once you’ve rolled up all the asparagus, brush the asparagus with half of your melted butter.
Mix together your ground spices and sprinkle onto the buttered asparagus.
Proof your twigs in a blanket under a clean kitchen towel or plastic wrap until the dough slowly bounces back after a gentle poke, approximately 30 minutes.
Bake at 400℉ for 20 mins, or until nicely browned all around.
Brush the dough with the remaining butter and sprinkle on some flaky salt. Cool under a clean kitchen towel once baked to keep them soft.
100 g/ 7 tbsp fat (olive oil or clarified butter for the best taste)
904 g/ 2 lbs/ 7 cups flour (bread pref, ap works well enough)
1-2 Tbs olive oil (for oiling the bowl)
Stand Mixer
Countertop for shaping
Add the ingredients in the order that they appear above to the bowl of a stand mixer with the dough hook attached. Mix on low speed until all the flour is incorporated with the liquid; be sure to scrape the bottom of the bowl just to be sure there isn’t any dry pockets.
Detach the dough hook and leave It in the bowl with the dough. Let the dough rest for 2 hours covered in plastic or a damp, clean linen tea towel.
Replace the bowl on the mixer and reattach the dough hook. Mix on low/ medium speed until the dough looks much tighter and smoother than it started.
Rest the dough for 20 minutes and repeat step 3.
Once the dough is very smooth and stretchy, place the dough on the counter and flatten it out. Grab and pull each side to the middle of the dough, firmly attaching these arms to itself. Flip the dough over and roll the dough in circles against the counter until you have a perfectly smooth ball of dough. Oil the bowl up and add the dough back, seam side down, and make sure oil has coated the dough. Ferment covered on the counter until doubled in size.
From this point, I like to cut the dough in half and freeze one of the halves to use later. You can use this dough for a loaf of white bread, pigs in a blanket, pizza pockets, or anything that you can think to use dough for!
I like to think about what is available to most home cooks, so I try my best to adapt my recipes to be widely accessible. Always feel free to contact me with any questions!
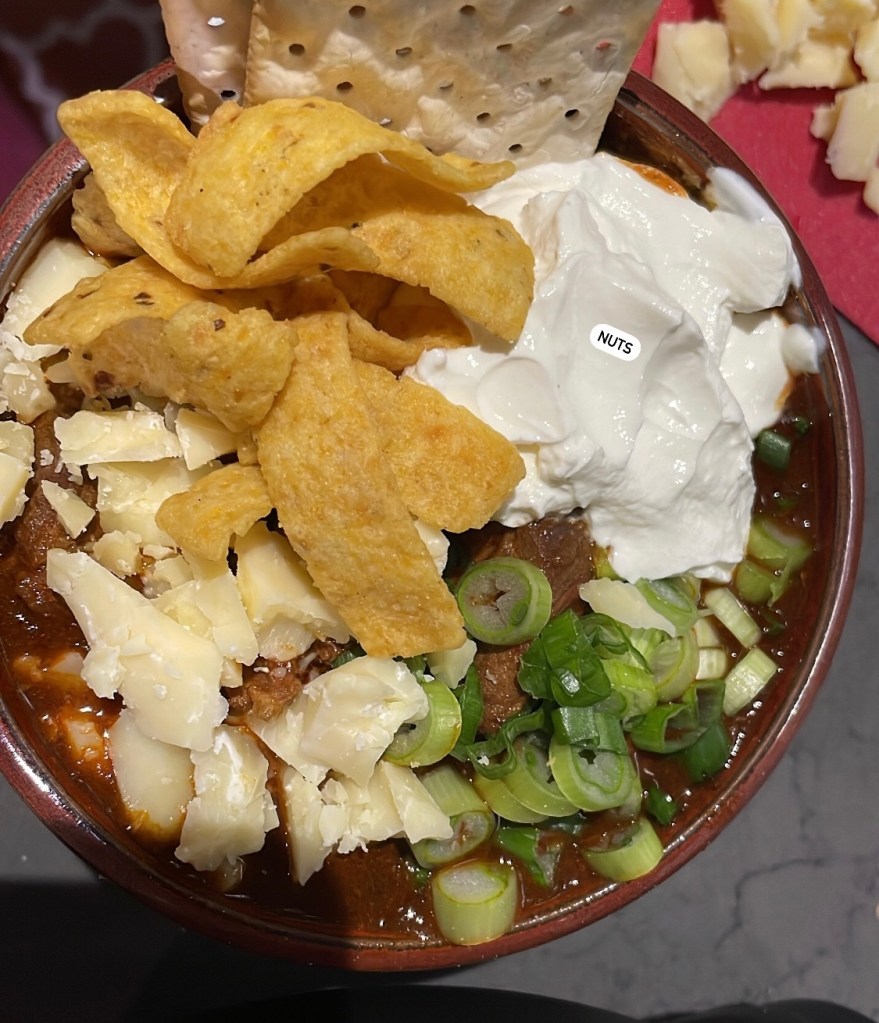
2 lb Boneless pork butt, cubed into 1 inch pieces
3 Yellow Onions, diced
2 Poblano peppers, diced with seeds removed
1 can of diced, charred tomatoes
2 T of tomato paste
4 each of 3 different dried chili peppers (I used ancho, mulato and guajillo for mild spice, smokiness and sweetness)
4 leaves of fresh Sage
3 sprigs of fresh oregano
1 can of Black or white beans
2 cups beef stock (or water with a tbsp of beef Better Than Bullion)
1 cup of Coffee
2 oz of chili infused mexican chocolate or 70% dark chocolate
1/2 cup white Vinegar
112 fl oz can of a Beer (look for something full flavored like Modelo and avoid light beers)
2 tsp Ground Cumin
2 tsp Coriander seed
2 tsp Celery salt
2 T Garlic powder
2 packets of Sazon (for the pork)
Neutral oil
Garnish with shredded cheddar, scallions, sour cream and Fritos
Equipment: blender, 5 qt pot/ dutch oven, a few bowls to hold prepped ingredients, 1 sheet pan for roasting the dried chilis, oven bits
The morning you want to make this chili, season the chunks of pork with all of the Sazon seasoning and let it sit in a plastic bag in the fridge
4-8 hours later you want to get your pot/ dutch oven preheating over medium on the stove with 2 Tbsp of a neutral oil.
Once hot, sear each piece of meat on 2 sides in 3-4 batches. If you overcrowd the pot it will steam rather than sear the bottom of the meat. Once all the meat is seared, reserve it on the side to be re-added later.
With the heat still on medium, add another 2 T of oil and then the onions and poblano peppers. Stir occasionally.
While the vegetables sauté, lightly toast the dried chilis in an oven set to 400℉ for 5 minutes. Flip the chilis and return them to the oven for another 5 minutes. If they start to smoke or burn at all, remove them from the oven.
When the vegetables in the pot are lightly browned around their edges, add all of the ground spices, mix and toast for 30 seconds. Add the tomato paste and a T of oil and fry that for another minute or two, or until the paste is fragrant and has darkened slightly. Add the canned tomatoes.
After the chilis are toasted and fragrant, remove the stems and seeds. Add the chilis to the jar of your blender with the vinegar, beer, coffee, stock/ better than bullion and water and let soak until the dried chiles have softened. Blend until completely smooth.
Add the meat, chili puree, fresh herbs and chocolate to the pot with the vegetables and simmer the whole thing for at least 3 hours, checking every 30 mins or so. You can do this on the stove over medium/ low heat, but the best way to do this is to out your pot into a 350 ℉ oven with an oven save lid cracked slightly.
After the meat is tender enough to cut with a fork and the sauce has thickened and reduced slightly, add the beans of your choice. Let the beans heat through for about 15 minutes and serve with preferred garnishes.
I like to think about what is available to most home cooks, so I try my best to adapt my recipes to be widely accessible. Always feel free to contact me with any questions!
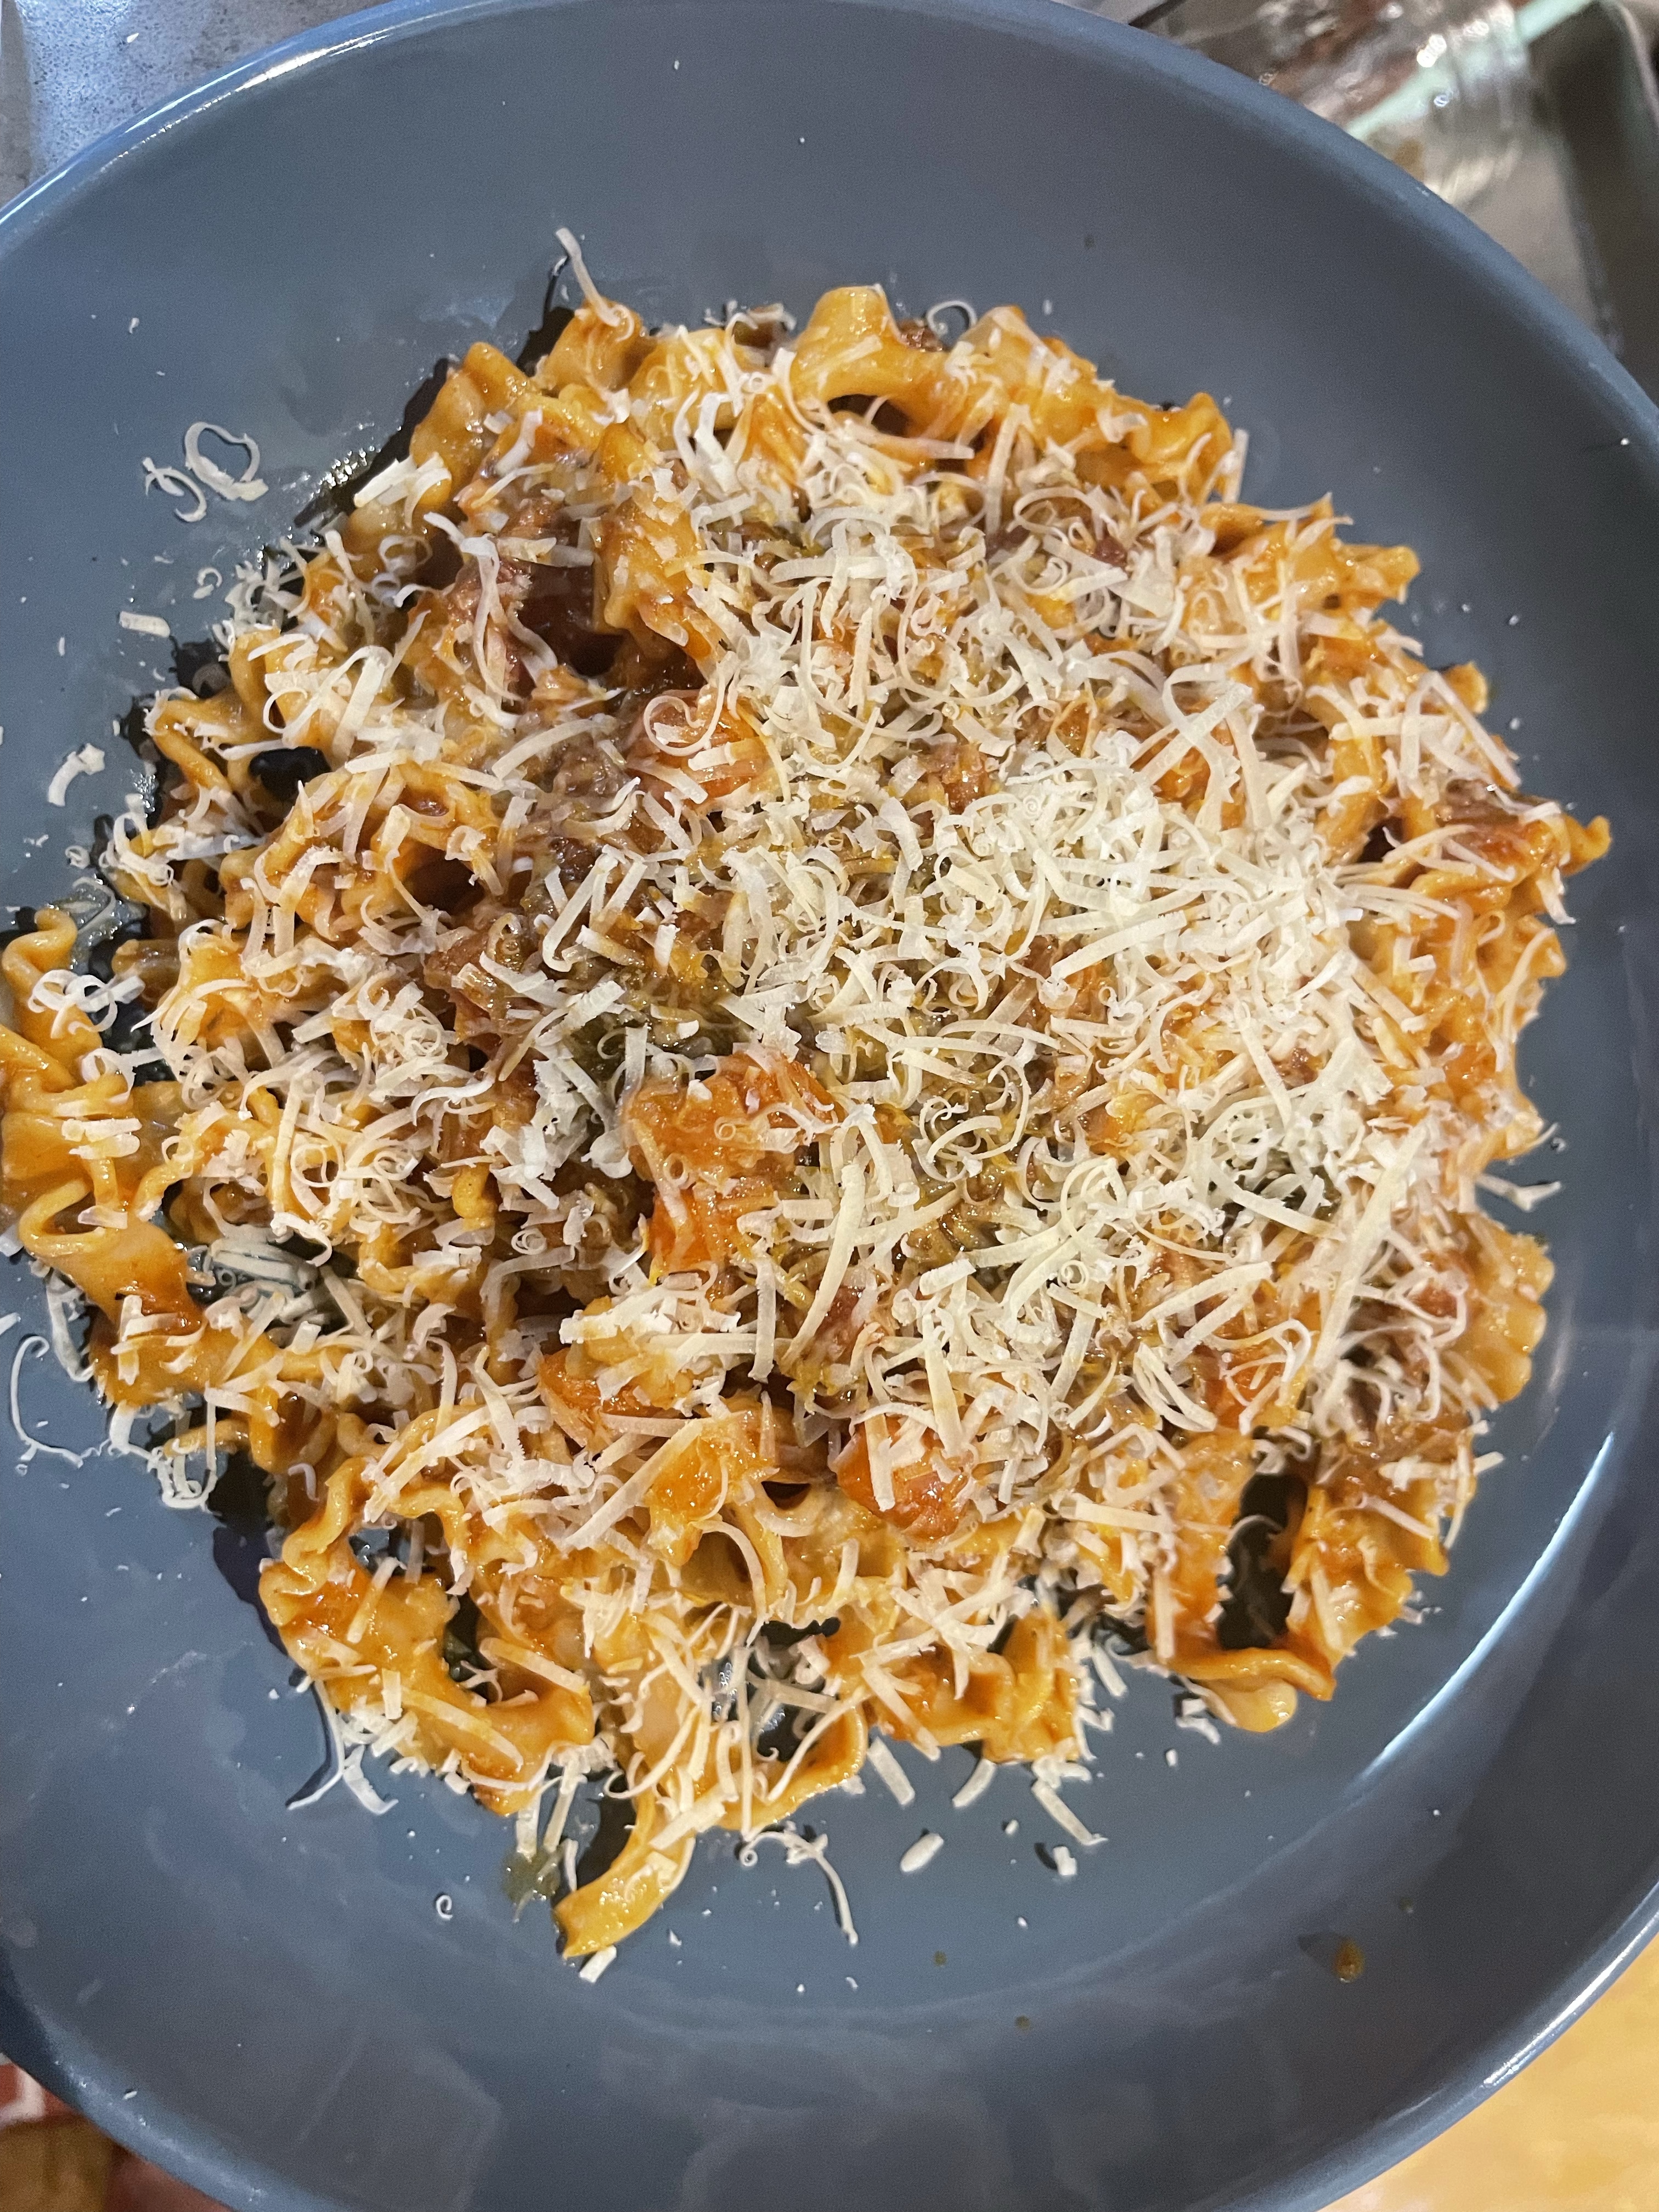
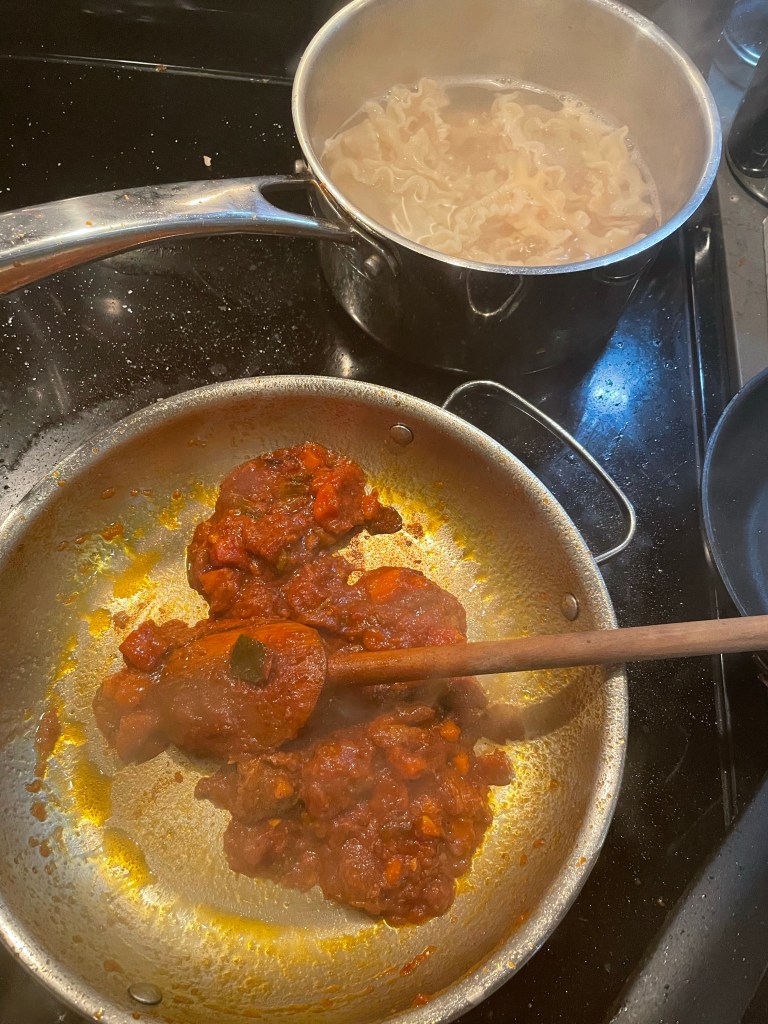
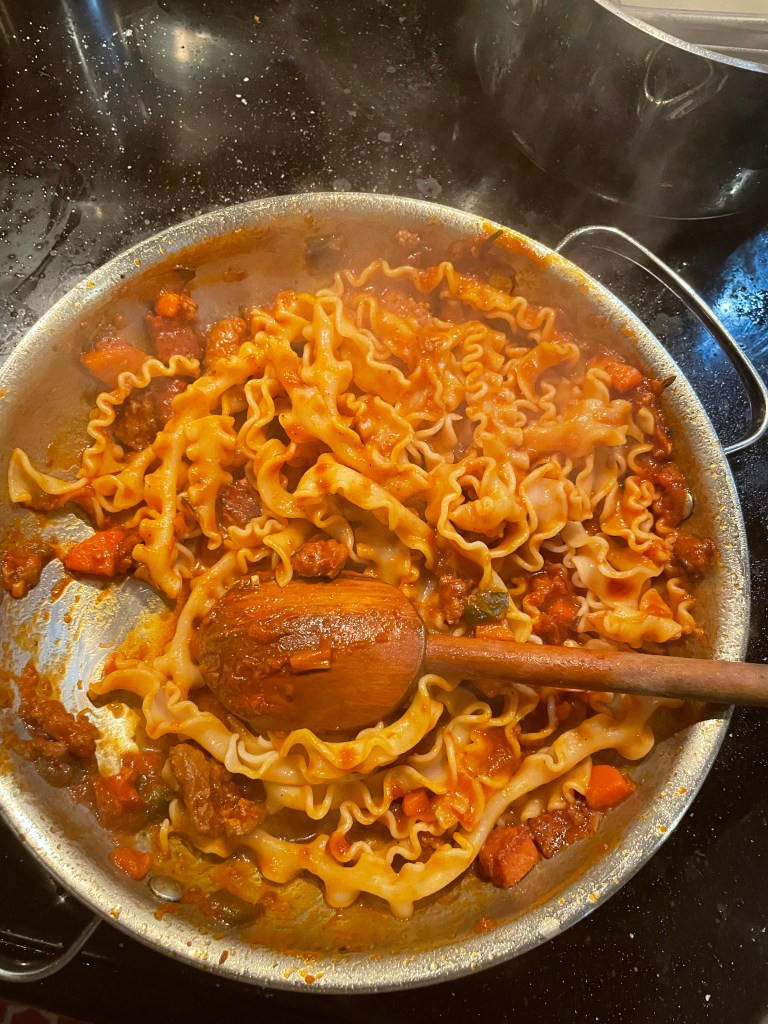
For this iteration I used the mafaldine pasta shape and ground lamb. My favorite version of this dish however used a thick lamb leg steak and orzo pasta. I dry brined the steak in my fridge for 2 days by liberally salting all sides of it and letting it sit on a paper towel lined plate uncovered in my fridge. The surface was dry and seared beautifully. The dry brining magnified the meat’s flavor, so go the extra mile if you can.
1 pound lamb leg steak OR 1 pound of ground lamb
4 oz of a cured meat, cut into lardon (cubes) about a quarter/half inch thick; for my tests I used guanciale and smoked coppa, but pancetta or slab bacon would work as well
Extra Virgin Olive oil
Salt and pepper
4 cloves of garlic, thinly sliced
1 poblano pepper, seeded and small/medium diced (about 1/2 in x 1/2 in)
2 medium sized carrots, small/medium diced
A 4 inch segment from the white of a leek, small/medium diced *(remember to clean your leeks! Soak them in enough cold water so that they float to the top and then skim them off the top, leaving the dirt behind at the bottom of the bowl)
2 T tomato paste, double concentrated if possible
3/4 cup Red wine
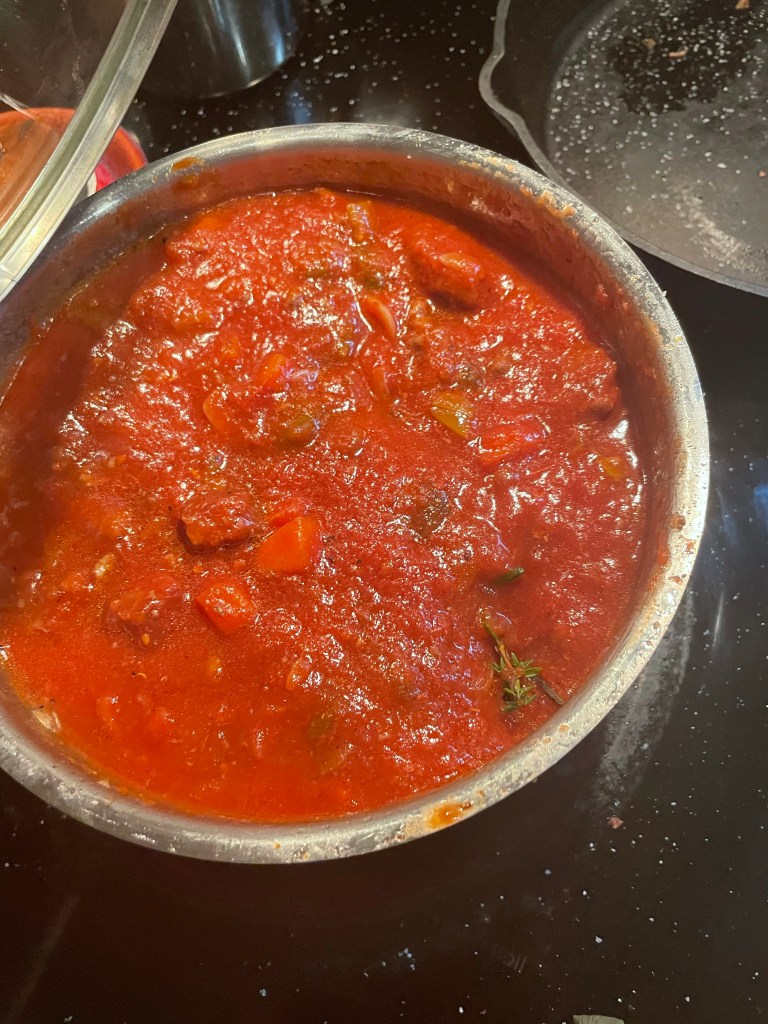
1 1/2 cups of passata/ tomato puree
Just enough water or stock (any stock, but lamb or beef is best) to help it come together; I used just over a half cup
Bouquet of fresh oregano, thyme, rosemary and bay leaf (tie it all together with some butcher’s twine)
1 tsp red pepper flakes
1 T cold butter
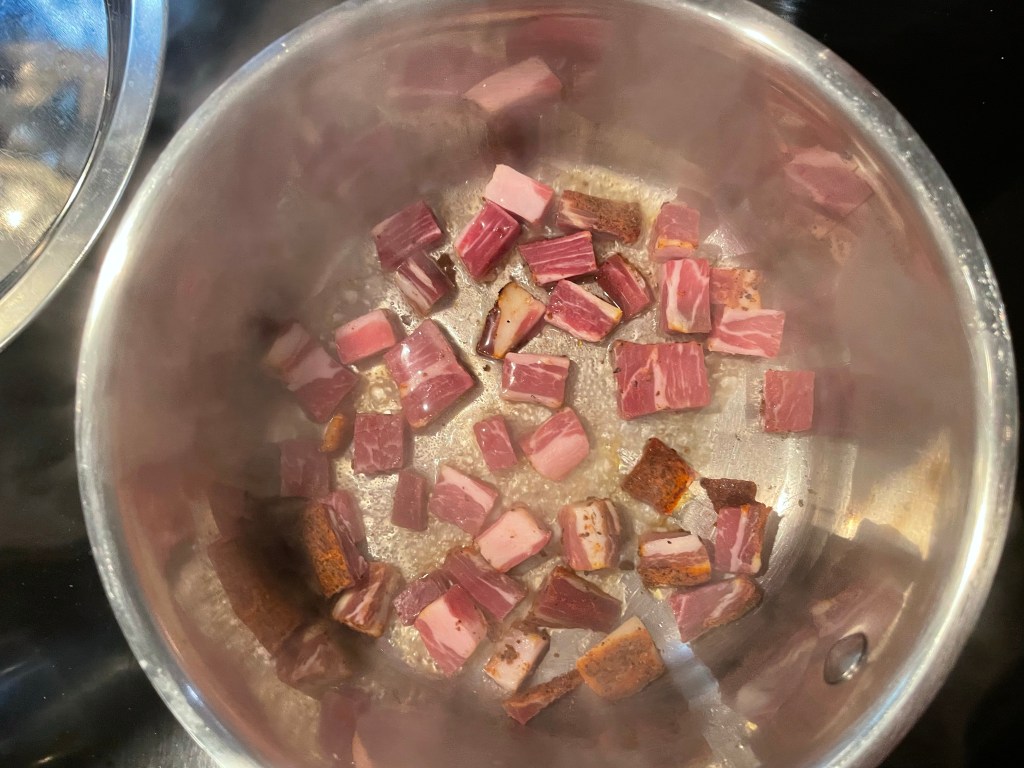
1. Add the cubes of cured pork into a pot with a small amount of water. Turn the heat to medium-low and render the fat out of it.
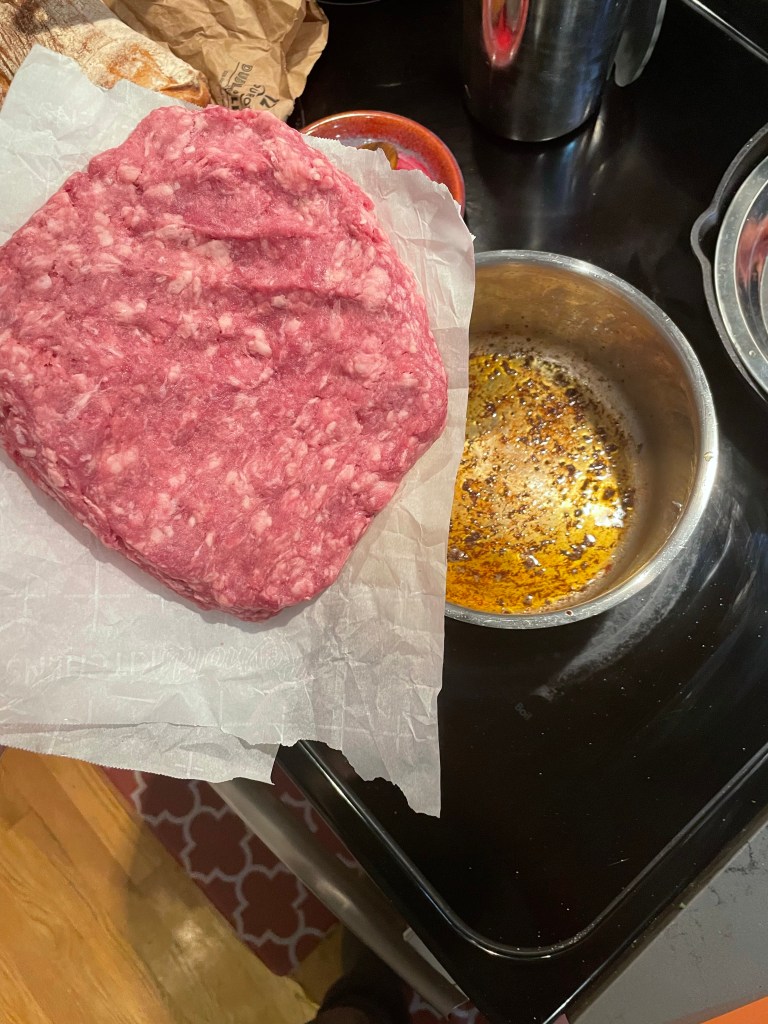
2. Once the water has boiled out of the pot and what is left is browned meat and a pool of flavorful fat, remove the meat and reserve to a metal pan (no paper towels or fat draining necessary).
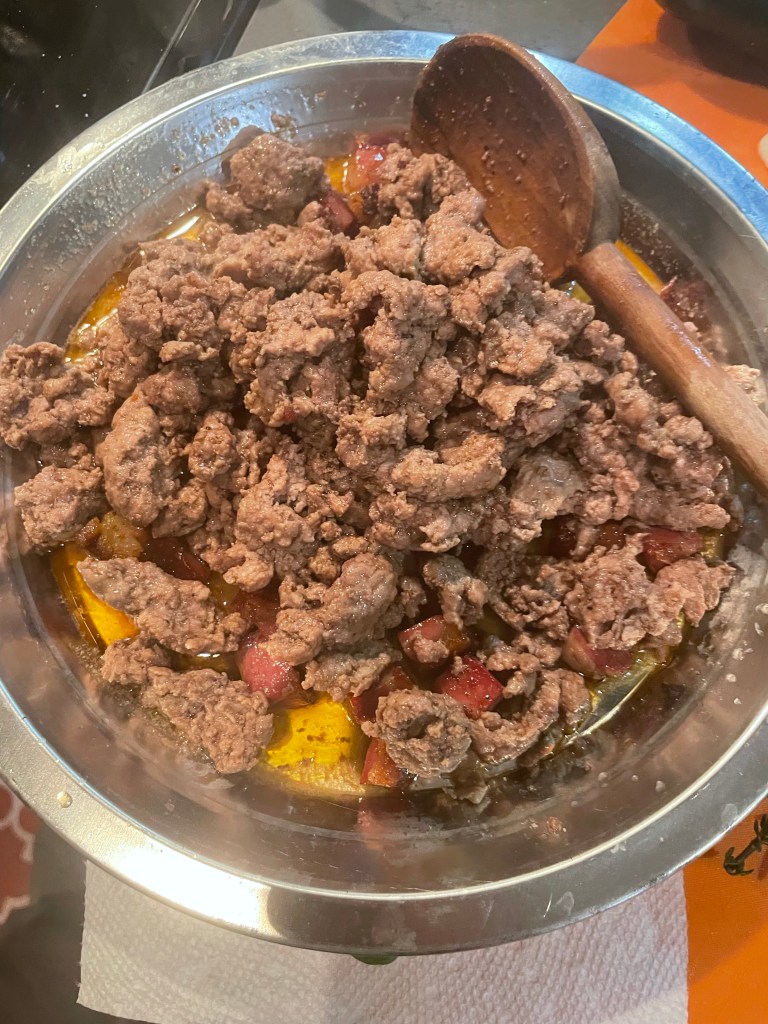
3. Turn the burner to medium high and add your lamb of choice. It should be liberally seasoned with salt. Sear the lamb until dark brown on one side and carefully flip it. If you’re using ground meat, break the meat up into small chunks with a wooden spoon.
If you opt for the quicker and easier ground lamb route, form the meat into a shape similar to the pot/pan you’re using
4. Lower the heat as low as it can go once the meat is sufficiently browned and then remove it from the pot. It can wait with the lardon in its metal pan.
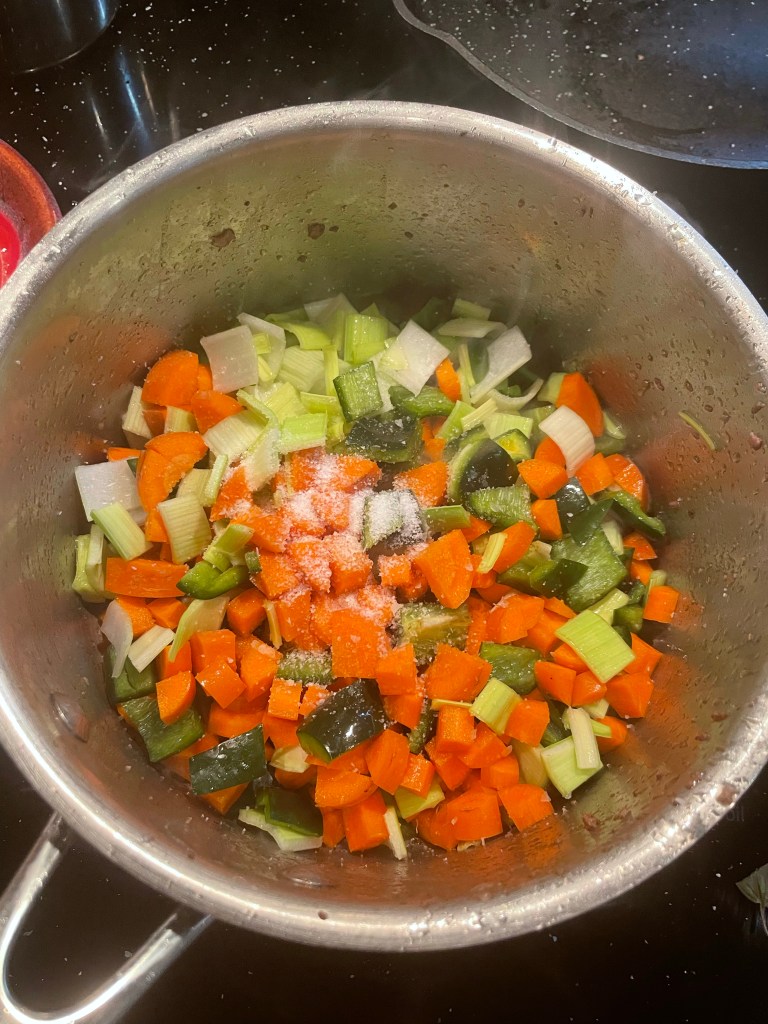
5. Adjust the heat to medium and add enough olive oil to easily cover the bottom of the pan. Add all of the vegetables once the oil shimmers
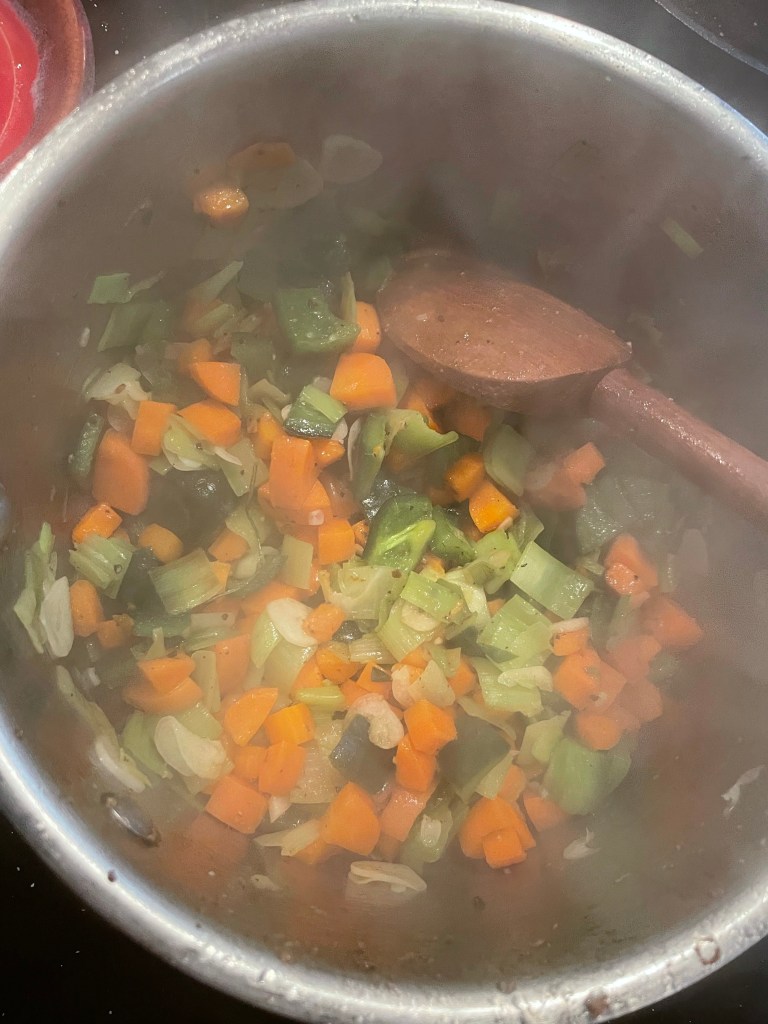
6. Sweat the vegetables and garlic until mostly cooked through, be careful to avoid browning if possible (turn the heat down as needed)
7. Clear out a space in the middle of your pan with your wooden spoon, add a little more oil and fry your tomato paste in it. Stir everything together, making sure to coat all the vegetables in the tomato paste.
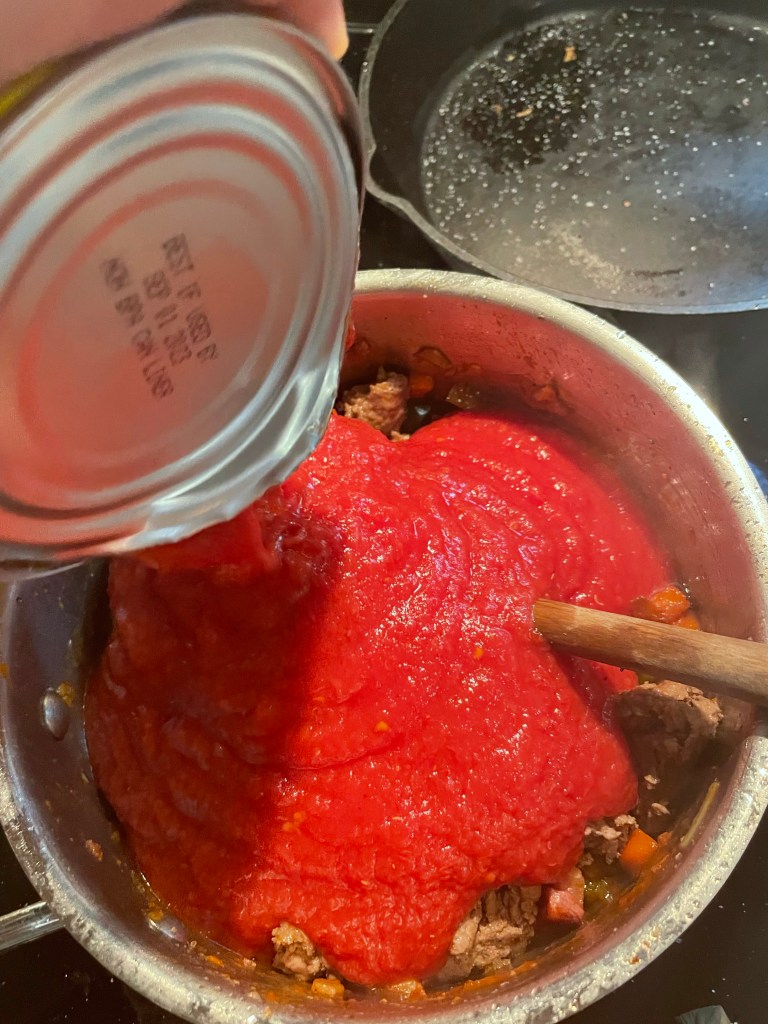
8. Add the red wine and cook that until it has reduced by half. Then add the tomato puree and the stock/ water
9. Add the, herbs and red pepper flakes and meat as well as about 10 cranks of fresh black pepper
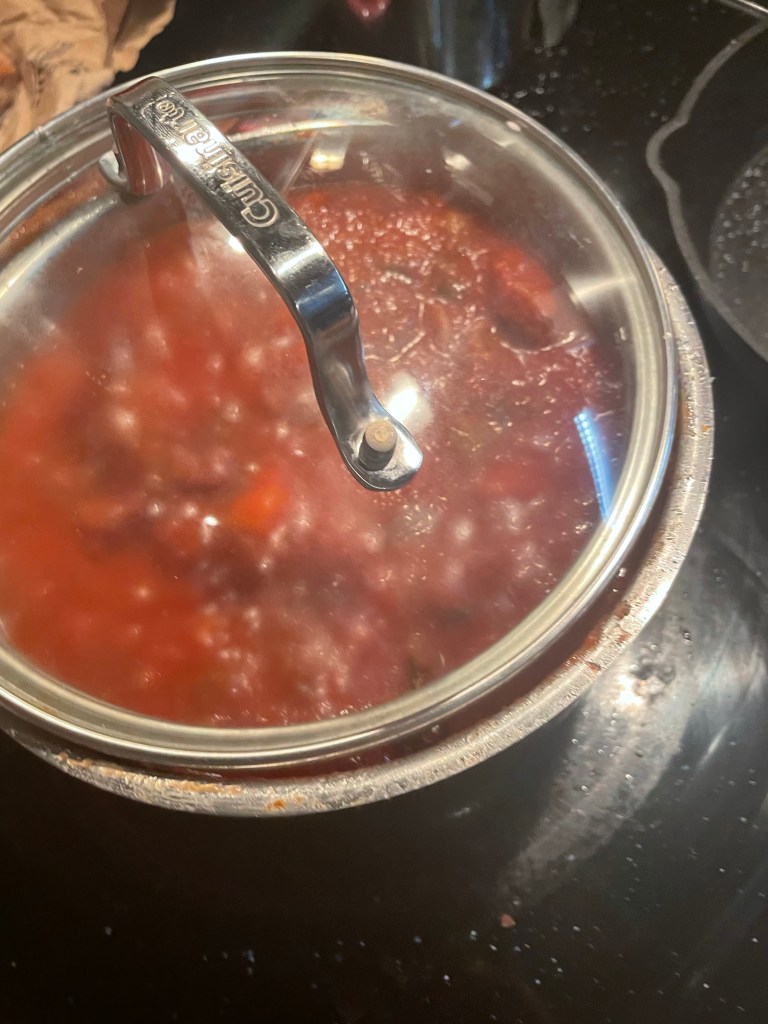
10. Cook on low with the lid of the pot cracked for a few hours, or until the sauce has reduced and thickened. If you used a leg steak, the meat should break up and easily mix into the sauce.
11. To use in pasta, cook the pasta to package instructions in water that is just saltier than tears. When the it’s just a couple minutes away from being cooked through, heat a pan with enough oil to barely cover the bottom of it. Add a half cup or so of ragu per serving of pasta (just enough to coat the amount of pasta you’re using, not too much) and reheat over medium-low just until the pasta is done (careful not to over burn the bottom)
The sauce tastes best after it sits in the fridge for overnight, so make the sauce ahead if you can
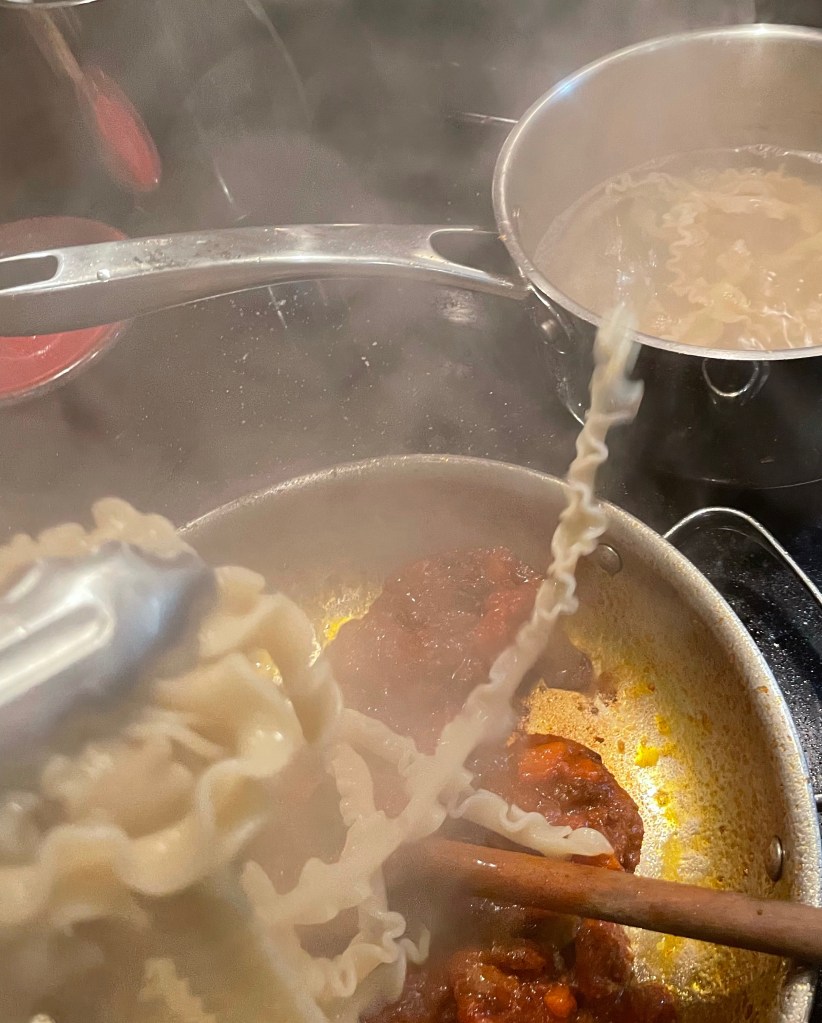
12. Once al dente (or however you like it), add the pasta to the sauce and toss vigorously until coated. Add about a quarter/ half cup of pasta water and toss again. Season to taste with salt with more than yiu think you might need. The cold butter added at the end will balance the flavors perfectly.
13. Right before serving, turn the heat off and add the cold butter to the pasta and toss vigorously. Plate as desired and grate part on top to serve